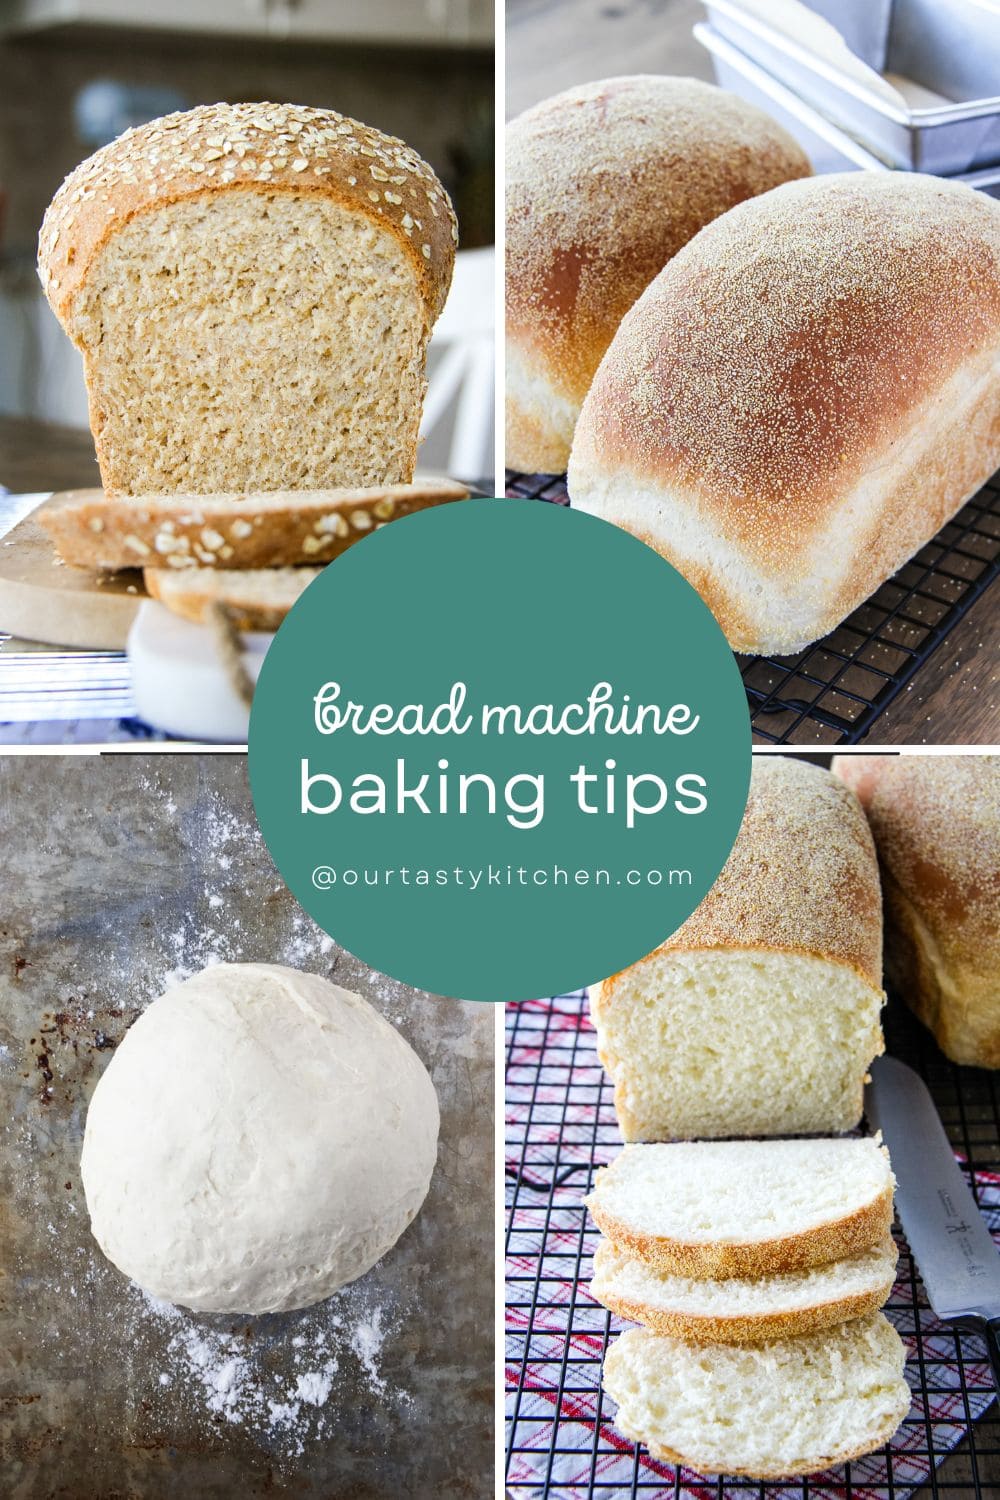
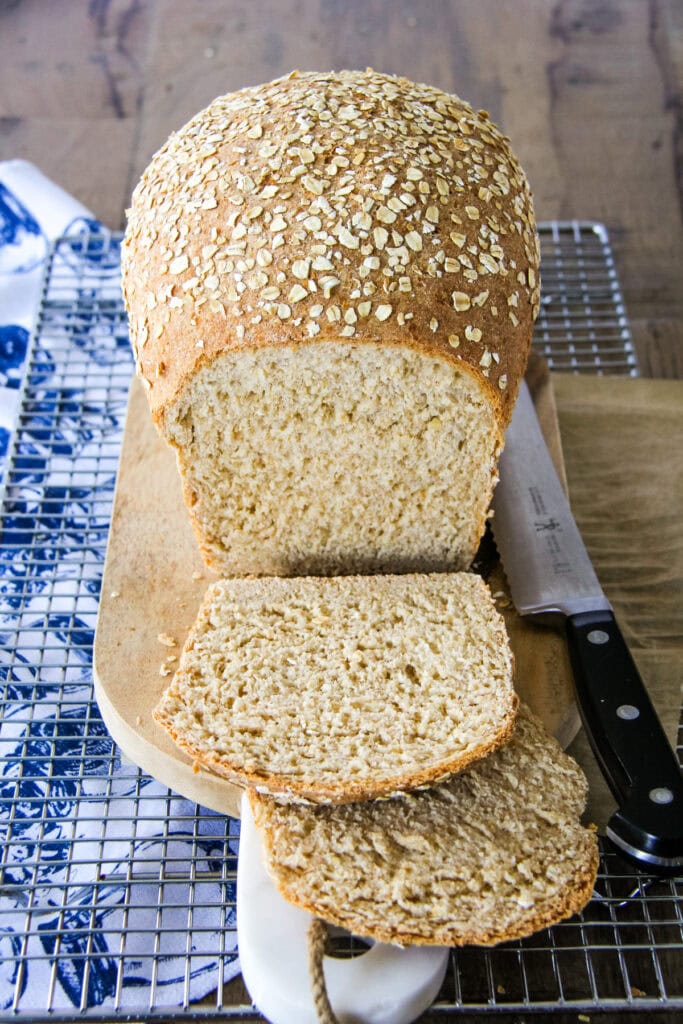
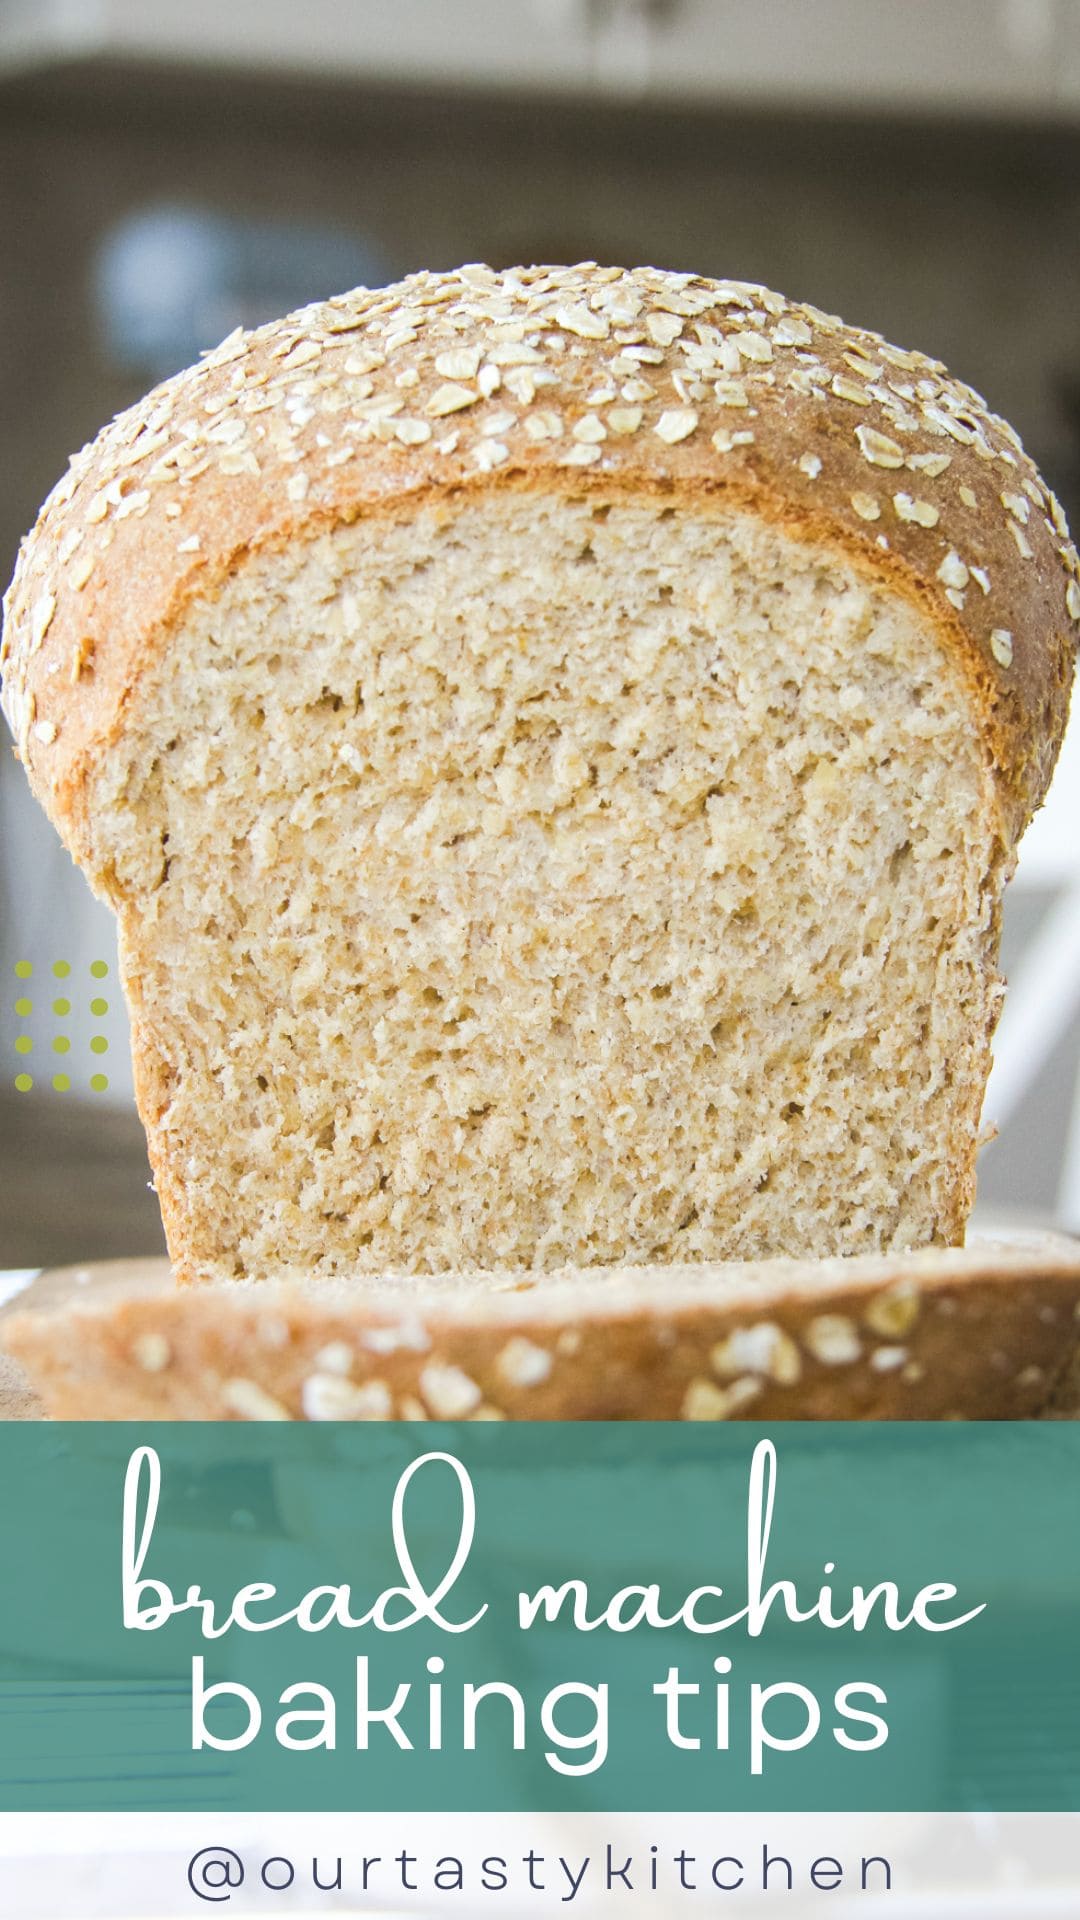
Bread Machine Baking Tips
Bread Machine Baking Tips to help you get the most out of your bread machine, no matter which type you have. Also includes links to delicious recipes!
If you’ve got a bread machine and you’ve ever wondered why your bread didn’t rise, or had substitution questions, or just needed general troubleshooting, I hope you find some answers here! My bread machine has gotten a workout over the years, and along the way I’ve learned a few things so I thought I would share them with you!
bread machines make bread making so easy!
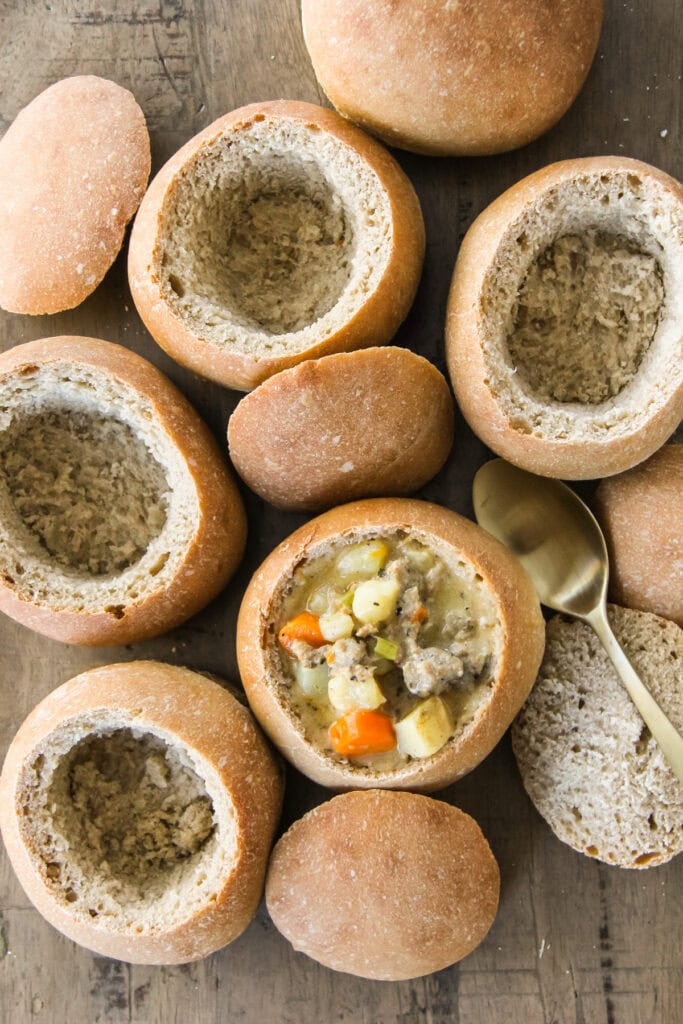
They really do. There’s just something so fantastic about being able to add all of the ingredients for bread into a machine, then letting it do all the hard work of kneading and rising (and baking if you bake in the machine). It’s basically fuss free, and the results are delicious! Most of the time I let my bread machine make the dough, then I shape it into what I want at the time, whether it be a loaf, buns, dinner rolls or cinnamon buns, then I bake them in my oven. I just love the flexibility of this. Fresh baked bread without all the fuss!


Bread Machine Ingredients + Tips
Now let’s get to it! Here is some general information and a few tips about the ingredients used in bread machine recipes:
- Important! Have ingredients at room temperature. Yeast cannot grow if the ingredients are too cold or too hot.
- Substitutions: Don’t make any, unless the recipe gives you specific suggestions.
- Measure ingredients accurately.
- Add the ingredients in the order that they are listed in the recipe. Making sure that when you add the yeast, it’s not touching any liquid or oats.
- Flour: I always use all-purpose flour or bread flour, unless otherwise stated. Don’t try to substitute any different flours in recipes, instead find the correct recipe for the flour you wish to use.
- Yeast: Use fresh Instant Yeast: also called Bread Machine Yeast and Rapid Rise Yeast.
- Adding yeast: Make sure to add the yeast into a small well/divot in the flour. Don’t let it touch any liquid or oats.
- Milk: You can use 1%, 2% and whole milk. Some recipes also use buttermilk. All liquids should be at room temp, or even slightly warm (which I prefer).
- Butter: You can use salted or unsalted butter, at room temperature, it does not have to be melted.
- Eggs: Use large eggs, at room temperature. You can put whole eggs into a bowl of warm water to warm them up beforehand.
- Pay attention to loaf sizes in the recipes, vs. what size the basket is in your machine. Standard loaf sizes are 1.5 to 2.0 lb loaves.

Bread Machine Tips:
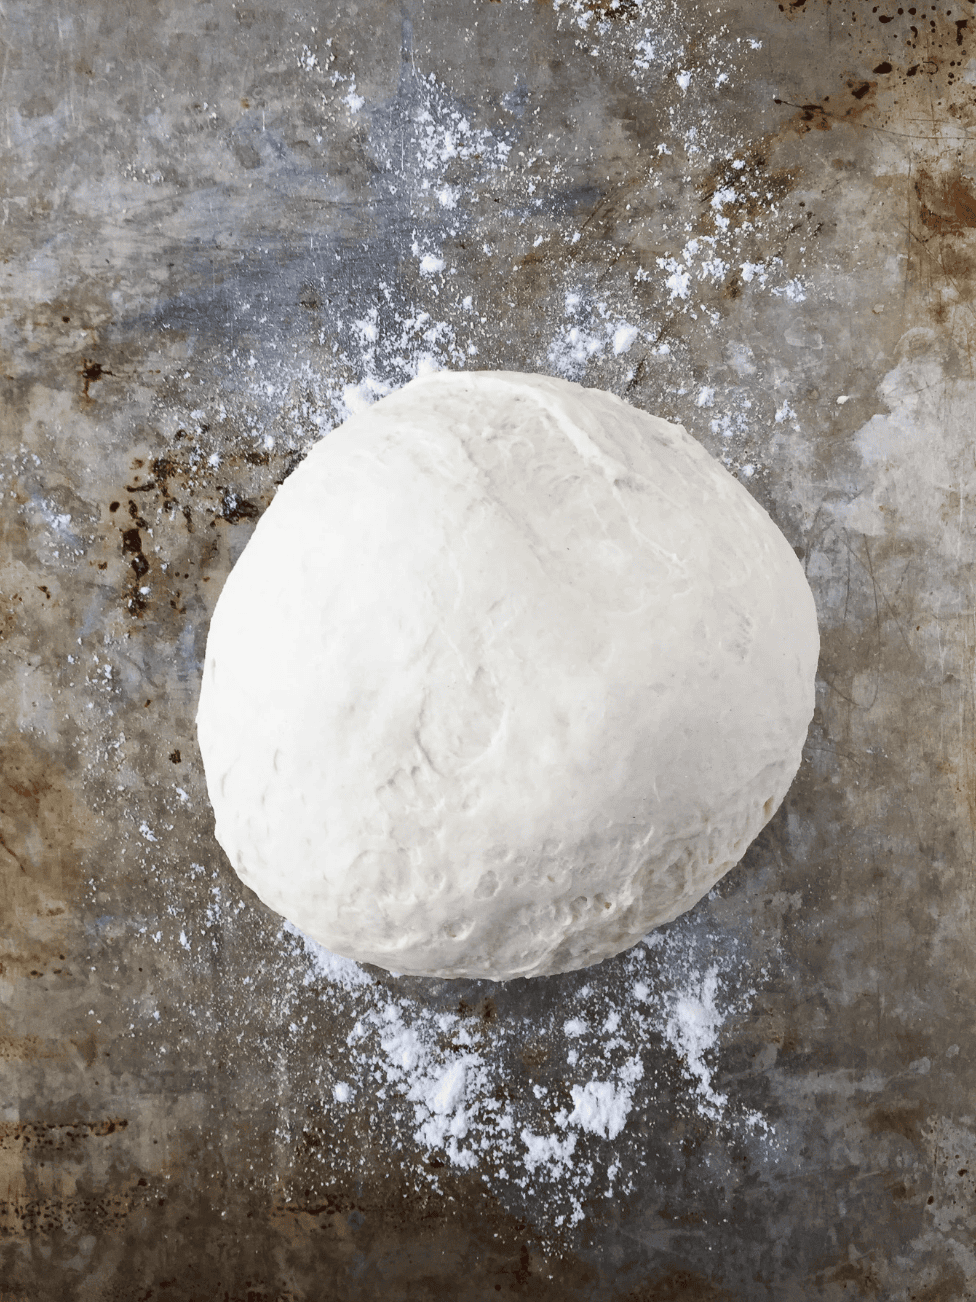
check the dough!
If there’s one thing I MUST recommend, it’s to check the progress of your bread dough, especially at the beginning of the cycle while it is being mixed and kneaded (within the first 5 minutes or so). Are all of the ingredients being mixed in properly? Do you need to push ingredients down off the side of the dough basket? Is the dough looking too dry or too wet? It’s much easier to fix bread dough as it’s being mixed and kneaded, instead of trying to fix it when the bread dough cycle is finished. See the FAQ section below for answers to these questions.
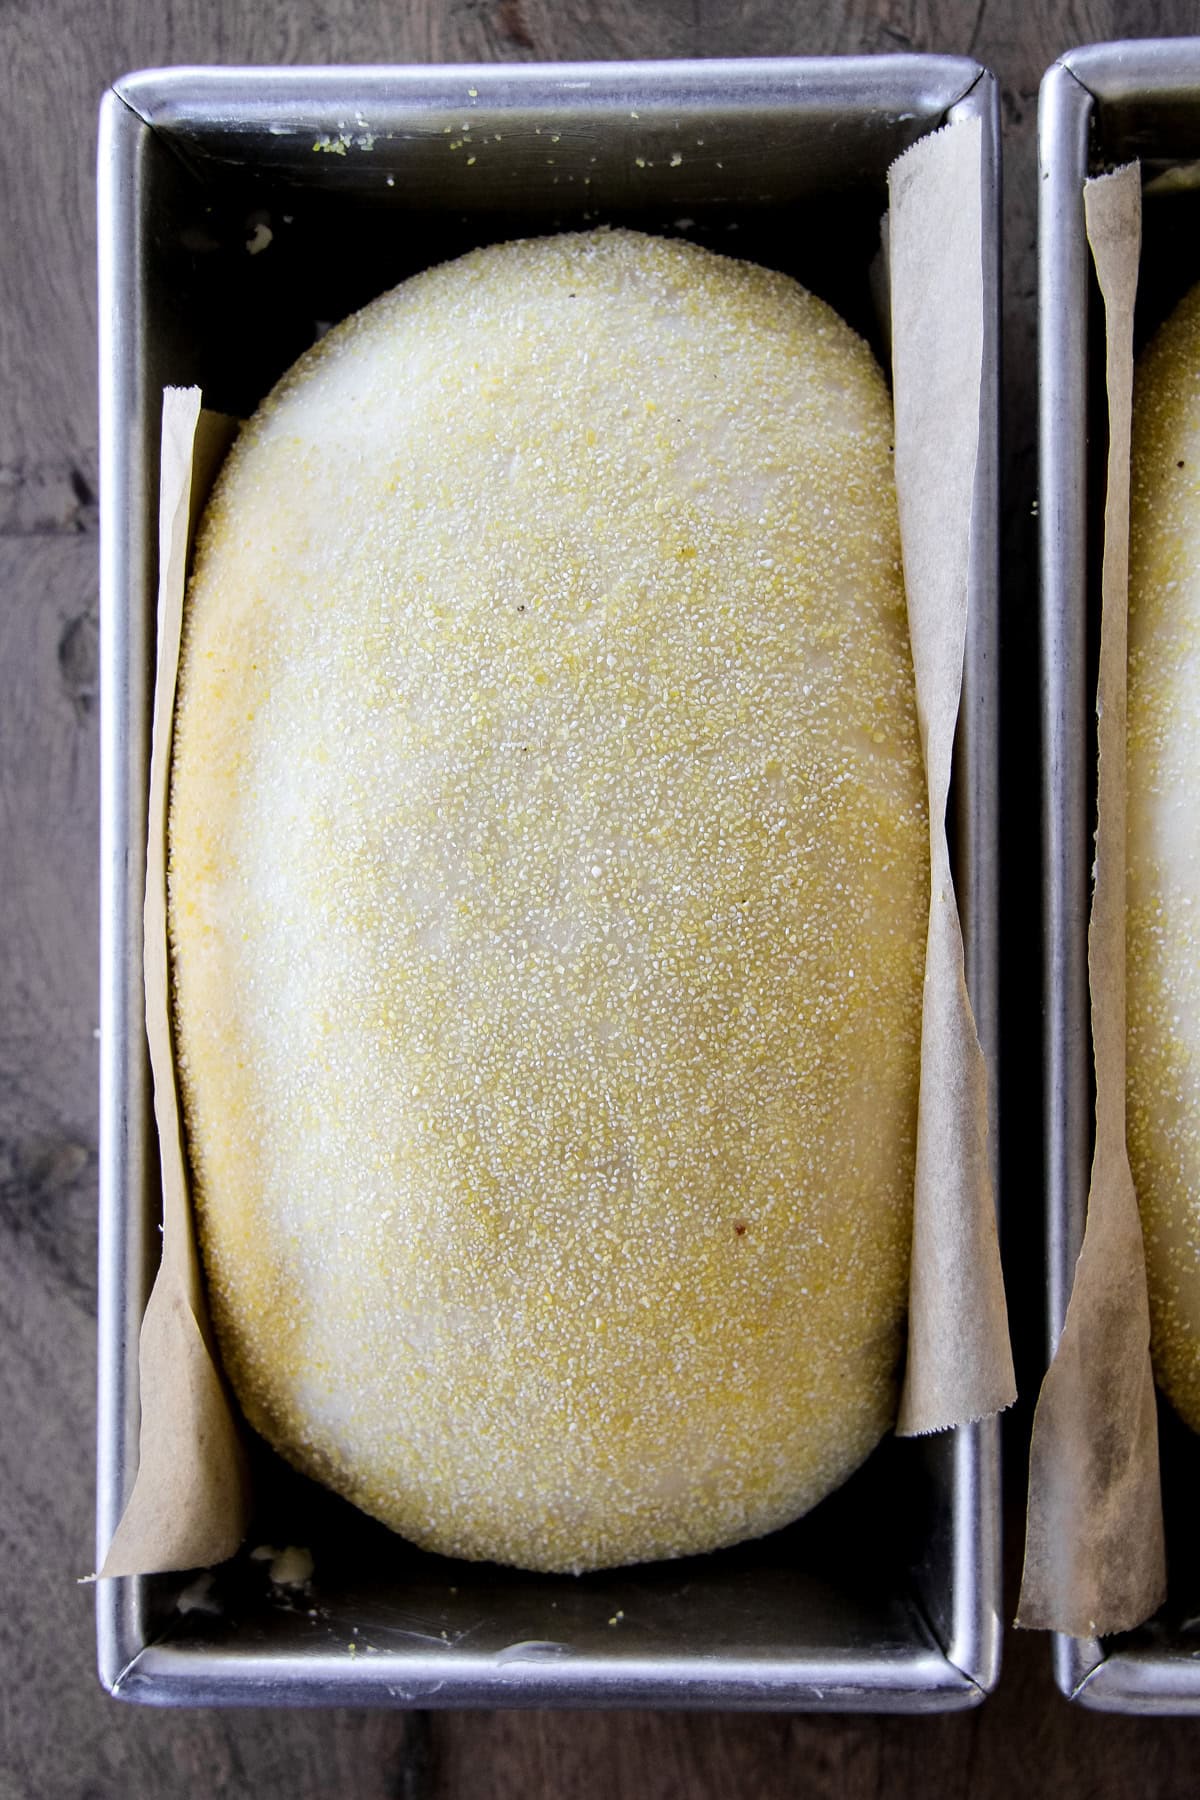
let it rise.
Follow the recipe instructions and make sure you allow enough time for the bread dough to rise. The biggest factors in rising, is the right air temperature, and length of time needed. Warm air is a must for rising. I have a proofing setting on my oven which I use and love! But you can also create a ‘proofing environment’ in your oven oven: preheat your oven to 115 degrees FAHRENHEIT, then turn the oven off once it reaches that temperature. Cover the dough in the pan with a damp tea towel, then place it into the oven and let it rise. If the dough doesn’t look like it has risen quite enough, leave it a little longer, maybe 15 – 30 more minutes.
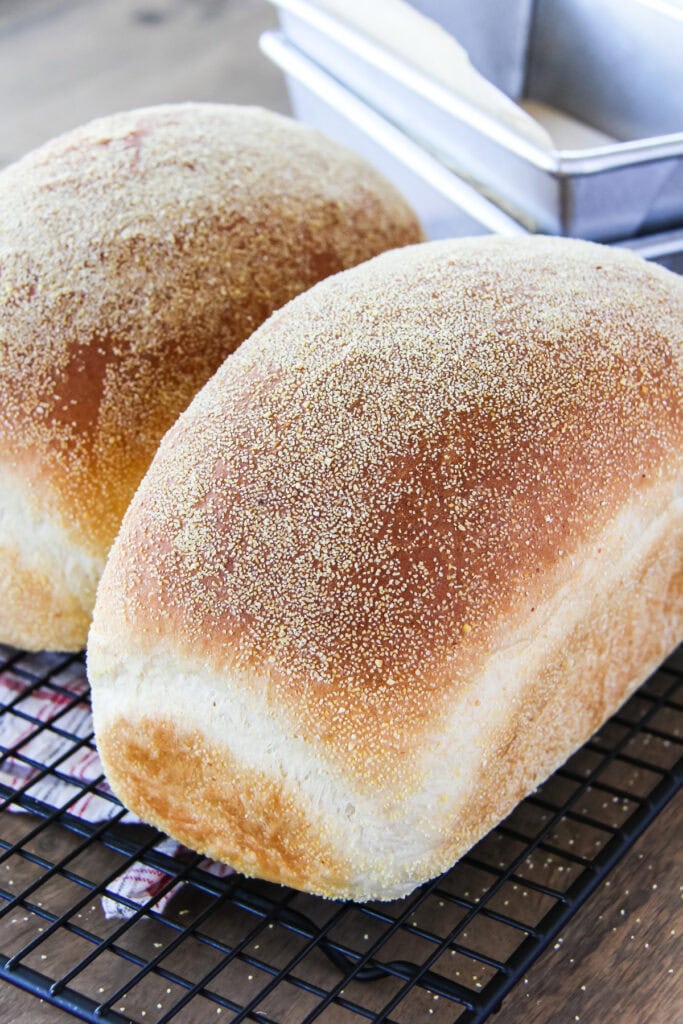
baking bread:
- Bake in Oven: My favourite way to use my bread machine is to use it for making the dough, but then I prefer to shape the dough the way I like, and bake it in my oven. Choose the ‘Dough Cycle’ for this.
- Bake in Bread Machine: You don’t have to bake the bread in the bread machine, but if you do, consider removing the paddle inside the machine first so it doesn’t bake into the bottom of the loaf and make a big hole.

Bread Machine FAQs

now let’s make bread!
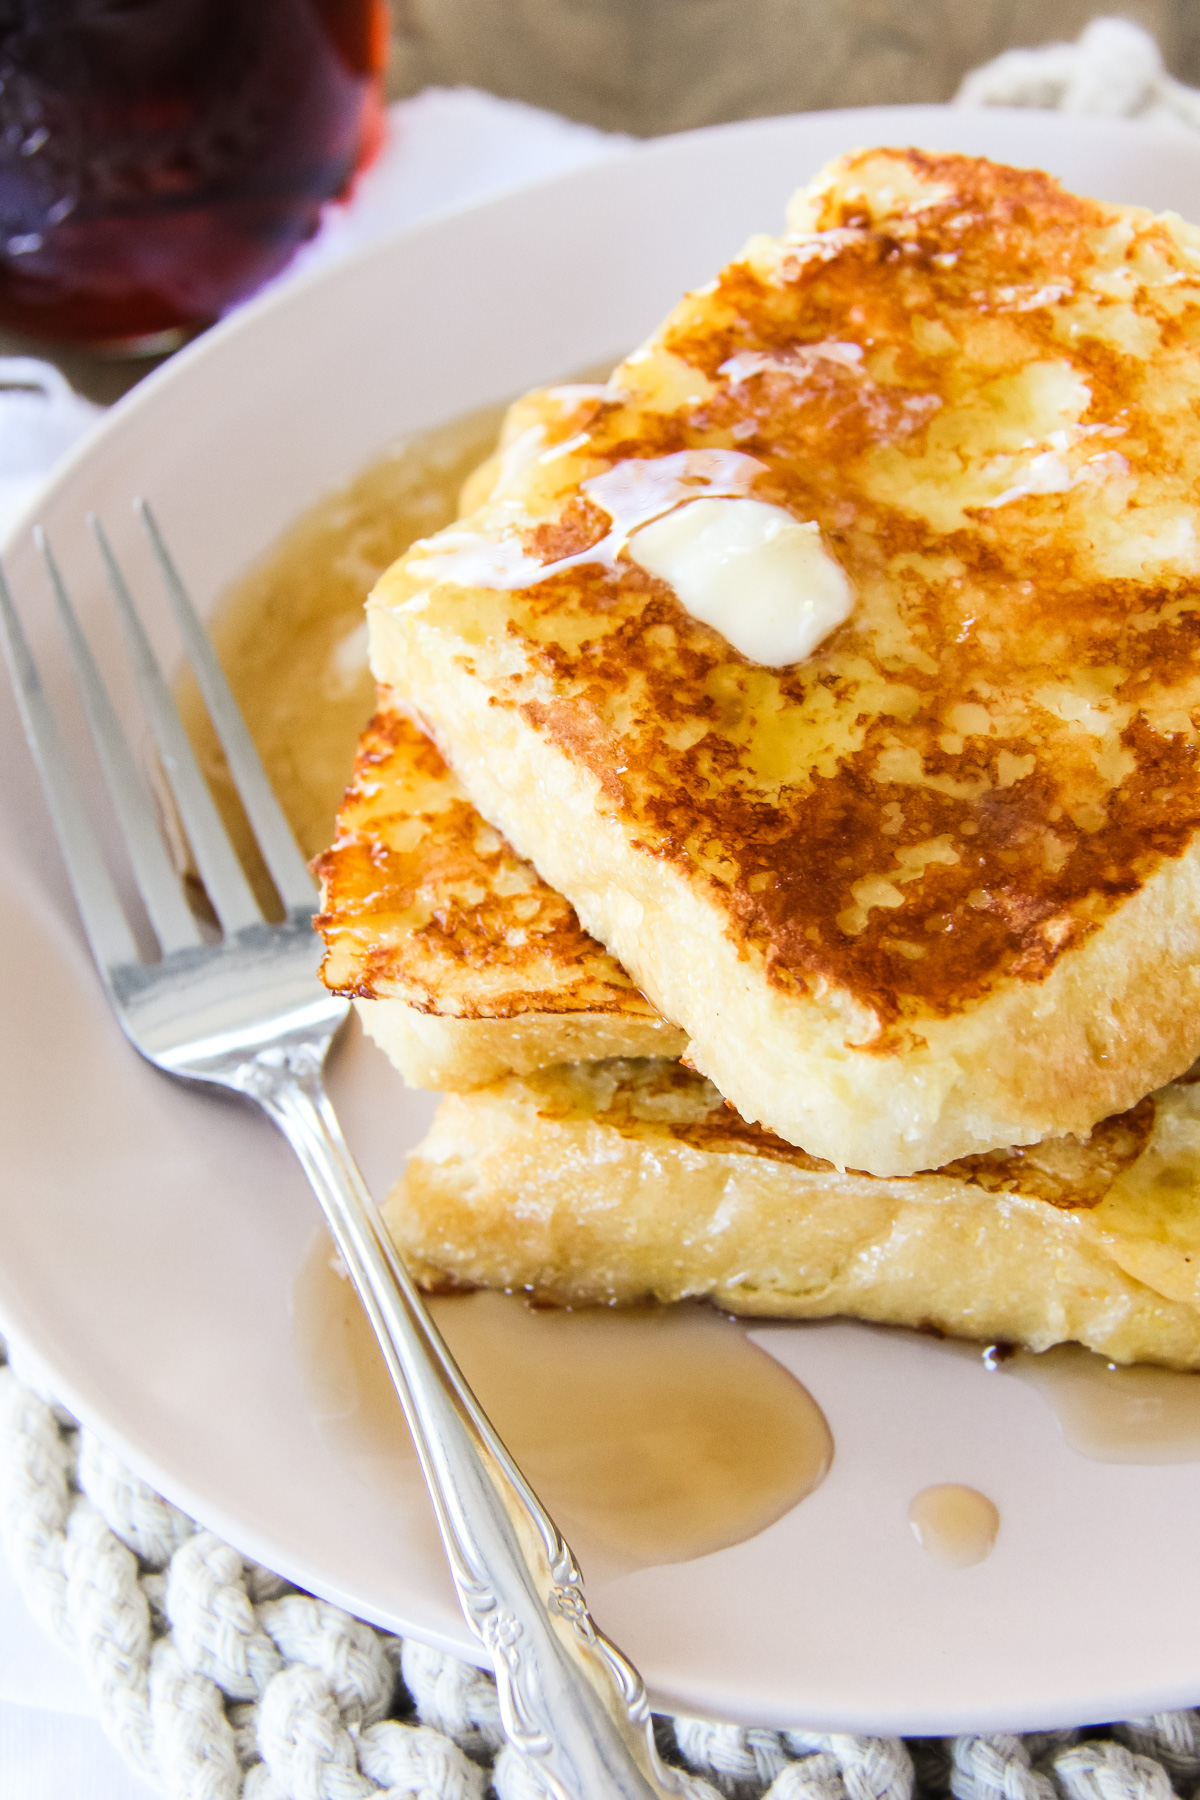
I hope you found this information useful in your bread machine baking endeavours! If you have any other questions, feel free to leave a comment and I’ll do my best to answer! Now that you’ve got some tips and you’re ready to roll, here are some delicious bread machine recipes to try:
7 bread machine recipes to try!


PIN IT!

Hi Jo, thanks for these very good tips! We’re thinking it’s time we started making bread (shocking), so I’m wondering what kind of bread machine works best.
xo
Thanks Mom! I love my bread machine so much, I hope you get one! We had an Oster that we used for years (it was a wedding present) and it was amazing, I would definitely buy one from that brand. I did receive a new one, a Cuisinart, and it’s great too!